
Setting up your Ex.Brain account the right way from the start ensures your data is well-structured, your AI assistant (Ex.Brain) is ready to help, and your team is fully equipped to begin working productively.
This quick wizard will walk you through essential steps like defining your brand, team structure, and the data categories that matter most to your business.
Step-by-Step Walkthrough #
1. Access the Sign-Up Page #
- Visit the Ex.Brain sign-in page and click “Create Account.” You’ll be guided through a setup wizard tailored to your business needs.
2. Select Your Account Type #
You’ll be asked: “How do you plan to use Ex.Brain?” Choose one of the following:
- Large Business / Enterprise
Ideal for companies with multiple brands, departments, or locations—such as oil & gas enterprises or M&A advisory firms. This path supports layered access controls, data segmentation, and advanced workflows. - Small Team / Business
Best for flat organizations or single-location teams that want a faster setup and simpler access management.
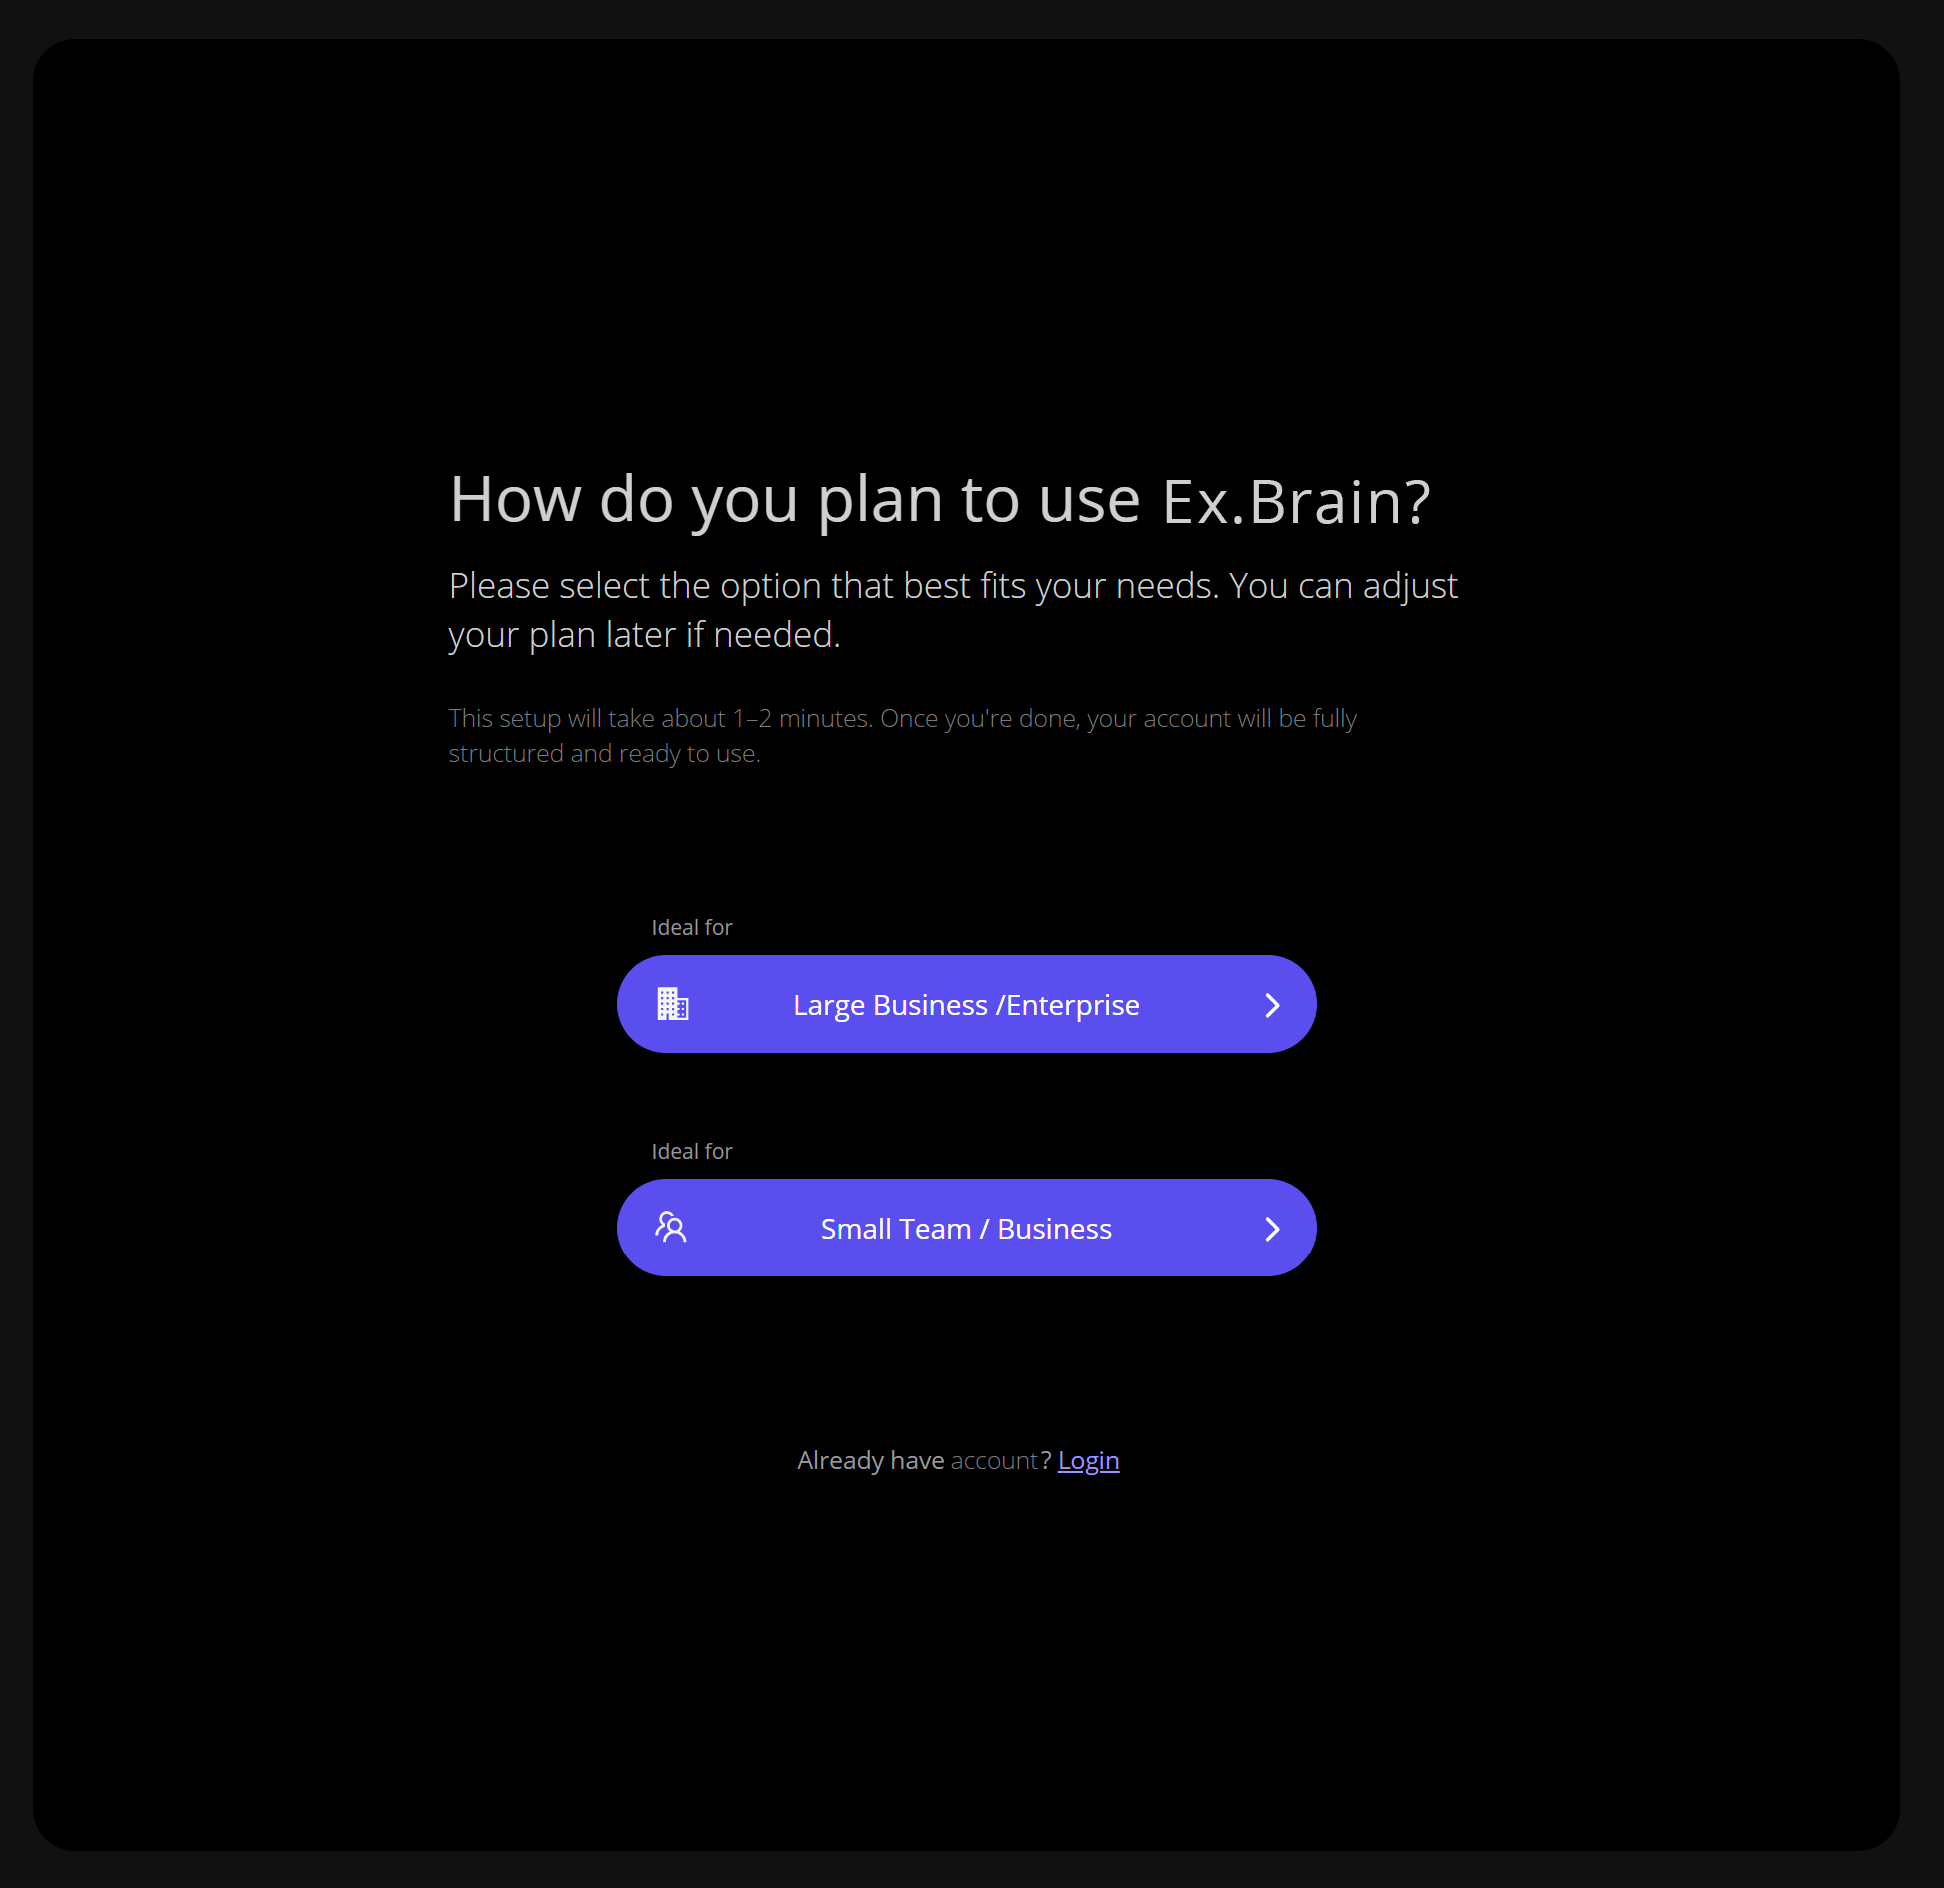
Your choice helps Ex.Brain personalize your setup, create starter teams, and pre-fill relevant data categories.
3. Enter Your Work Email #
You can either:
- Use Google Sign-In for a one-click setup (no OTP required),
or - Enter a work or personal email and verify it using the 6-digit code sent to your inbox.
Tip:
Use your company email. This makes collaboration easier, improves access to internal data, and supports role-based permissions.
4. Add Your Profile Details #
- Full Name – Required. Used to personalize the AI experience.
- Job Role – Strongly recommended. Tells Ex.Brain your function (e.g., CFO, VP of HR, or Operations Lead) so it can deliver more contextually relevant insights.
- Profile Photo – Optional but helpful for visibility across teams.
5. Define Your Brand Structure #
This is a critical step that sets the foundation for organizing your company’s data and permissions. You’ll define:
Section | Description |
Primary Brand | Your company name. Only one per account. Example: TitanOil Group |
| Sub-Brand | Subdivisions such as business units, regions, or product lines. Example: TitanOil – Midstream, TitanOil – Refining, or M&A Consulting West |
Workspace | Physical locations or operational groups. Example: Houston HQ, Refinery 1, or PE Deal Team A |
This structure lets Ex.Brain intelligently filter and deliver data only to authorized users across departments or sites.
6. Set Up Your Departments #
Depending on the account type you chose, Ex.Brain will auto-generate recommended departments such as:
- Finance
- Operations
- HR
- Sales
You can:
- Keep, rename, or remove them during setup
- Add more later under Team Management → Departments
Departments help organize teams and are later used to define access rules.
7. Create Block Categories #
Block Categories organize your data into logical, secure groups. Examples include:
- Core Ex.Brain
- Role Ex.Brain
- Financial Reports
- HR Documentation
- Operational Data
- Due Diligence Files
Ex.Brain provides pre-filled categories you can edit or expand under Block Management → Block Categories.
Every file, integration, or dataset must belong to a Block Category to be accessible and actionable by Ex.Brain.
8. You’re All Set — Welcome to Ex.Brain! #
You’ll land on your Ex.Brain Main Dashboard, your hub to:
- Upload data and documents
- Ask Ex.Brain business-critical questions
- Connect integrations
- Manage your team
We recommend uploading your first dataset (e.g., a PDF or Excel report) or inviting a colleague to collaborate.